Pages

Thursday, June 4, 2015

Painting with Patterns


Are you ready to re-invent the color wheel?


These paintings are created with acrylic paint, enjoying it's wonderfully opaque qualities, over a black surface. We added the earth pigments burnt umber, yellow ochre, and iron oxide to our primary color studies and expanded our understanding of color theory with many new mixing experiments and combinations.


We got inspired with geometric patterns from folk art, graphic art, and woven textiles. The bold results really pop! They grab our attention even from across the room. 


Sunprint Drawing Transfer


Students and families were amazed at the striking results from this multi-step process! Several parents asked for details.

The first part of our project was to draw in reverse using a Sgraffito technique, also known as scratch art, on a clear sheet of plastic coated with ink. This can be purchased prepared for you, or you can make your own with waterproof ink. (A variation is to draw or paint with ink on a clear sheet.)

The scratch tools must be sharp enough to draw easily, or it's not much fun! Before class, I whittled dowel rods down to a point, and students used sand paper to maintain the point while working. (Of course, we always remember our safety rules with these sharp tools.)


Next, we were ready to transfer our drawings to sunprint paper. The clear sheet with the ink drawing was laid directly over the photo-sensitive paper and exposed to direct sunlight. All clear areas where the ink had been scraped away allowed light to reach the sunprint paper, creating a polarized, or reverse, image.

Also called nature print paper or cyanotype paper, sunprint paper can be found at many art, craft, and science suppliers. The paper is coated with a non-toxic chemical that turns a brilliant blue color after being exposed to sunlight, rinsed in plain water, and air-dried.


Final art work can be treated like watercolor paintings, that is, keep dry and protect from gradual fading caused by direct sunlight over time.

Drawing Class: Baskets in Charcoal

As I looked around my studio for a something to challenge returning students while welcoming newcomers, my eyes landed on my collection of baskets. I thought, what a great way to introduce concepts of line to a new group of drawing students. To develop a strong sense of contour, we need clear visual pathways to follow. Baskets have many lines in repeating patterns that we can follow and study through drawing. For advanced students, working to capture the overlapping forms can give an added challenge. 


Wednesday, February 18, 2015

Drawing Students' Final Projects

My drawing students from Family Learning Program fall quarter surveyed a broad range of drawing topics, practiced skills and experimented with new concepts, and shared this final artwork with their community.


We explored how drawing can create the illusion of three dimensions with marks on a two dimensional surface.


I could tell the students took to heart the importance of building our Drawing Community when I noticed everyone sharing their work either with a neighbor or with our whole class.


Perspective drawing is especially useful for useful for building spatial-visual connections, showing architectural and mechanical forms, room interiors, and landscape drawing. 


Objects appear to diminish with distance. Things appear smaller when farther away.


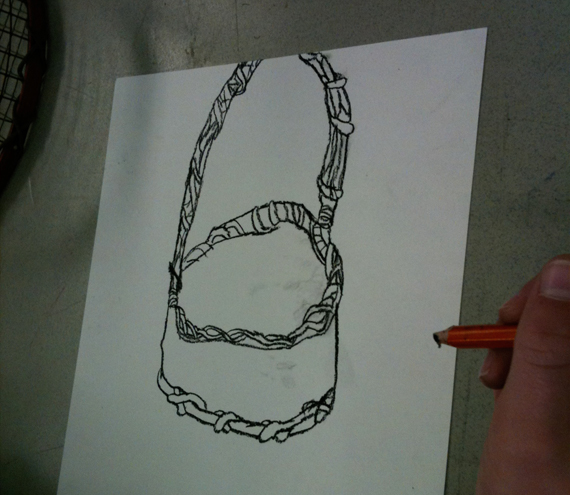
Students were asked to study proportions and practice using sighting and relative units of measurements.


Every person has unique and beautiful proportions. We can use relative units of measurement to show all kinds of interesting people.


To train our eyes to see small but important changes in the light to shadow scale, or spectrum, we set up a visually simplified situation with a single light source. Then we practiced drawing an object while attempting to capture a full range of light and shadow gradations.


At it’s most basic, a drawing is a group of marks on some kind of surface. Any drawing will relate to line, shape and/or pattern. You can draw anything visible, and many imaginary things as well, with a step by step process. Start with a soft gesture drawing that captures the shapes and motion of the entire subject. Next, check and correct proportions using relative units of measurement. Finally, add detailed contours and gradations of light and shadow.